Backend Installation
- Local Installation
- Server /Aapanel Installation
Local Backend Installation Process
Step 1:
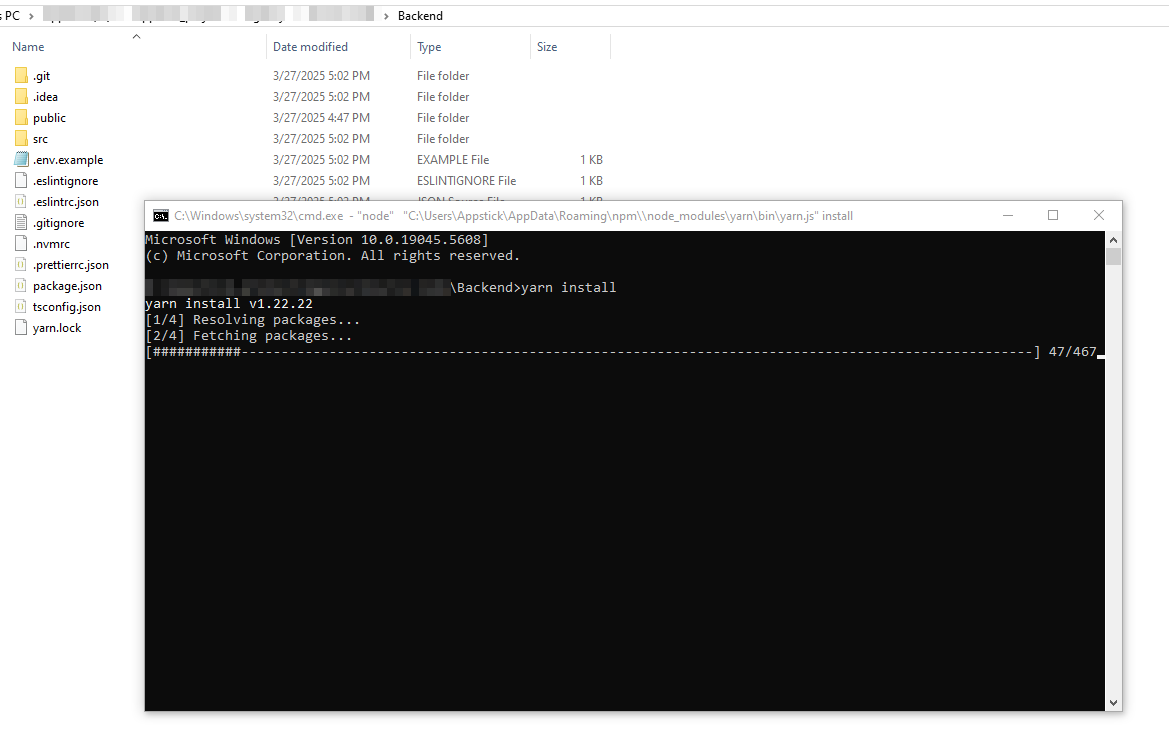
- First you need to navigate to the backend project folder, then open the terminal and run:
yarn install
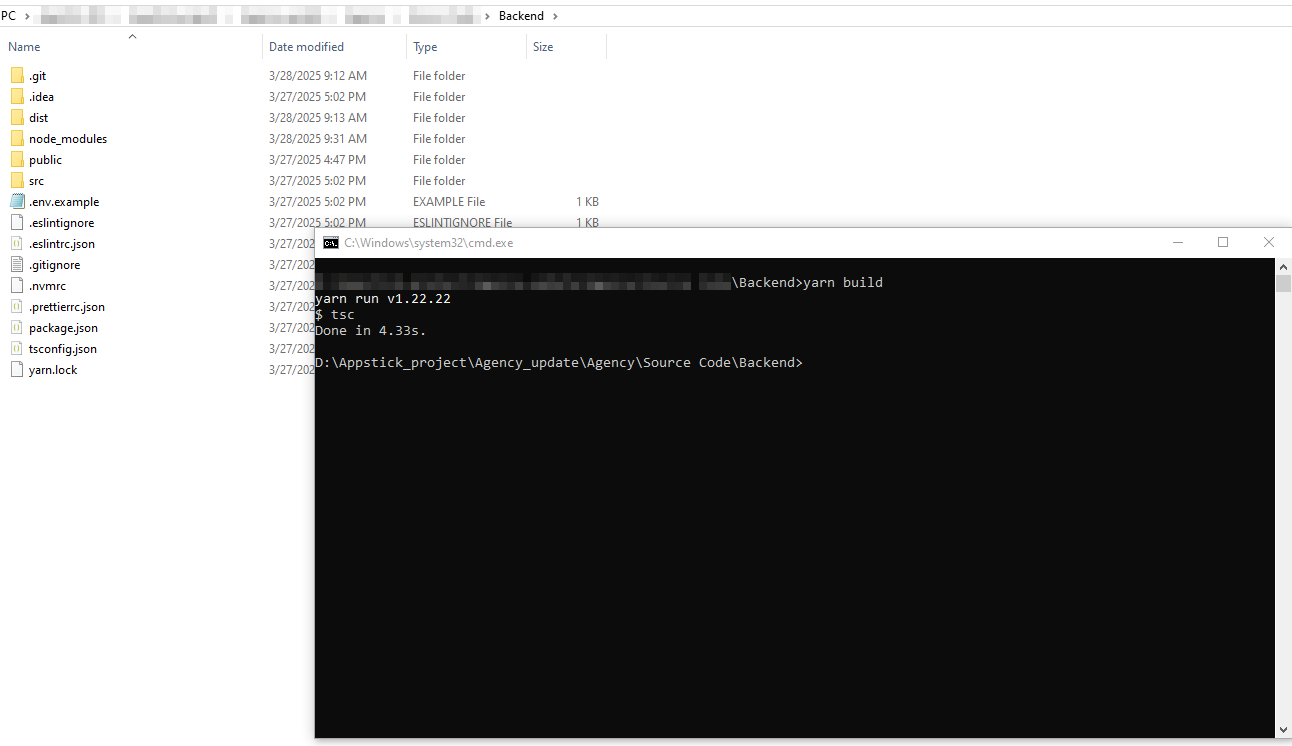
Step 2:
- Now, build the project by running the following command:
yarn start:dev
Step 3:
- Finally, start the backend server locally with:
yarn start:dev
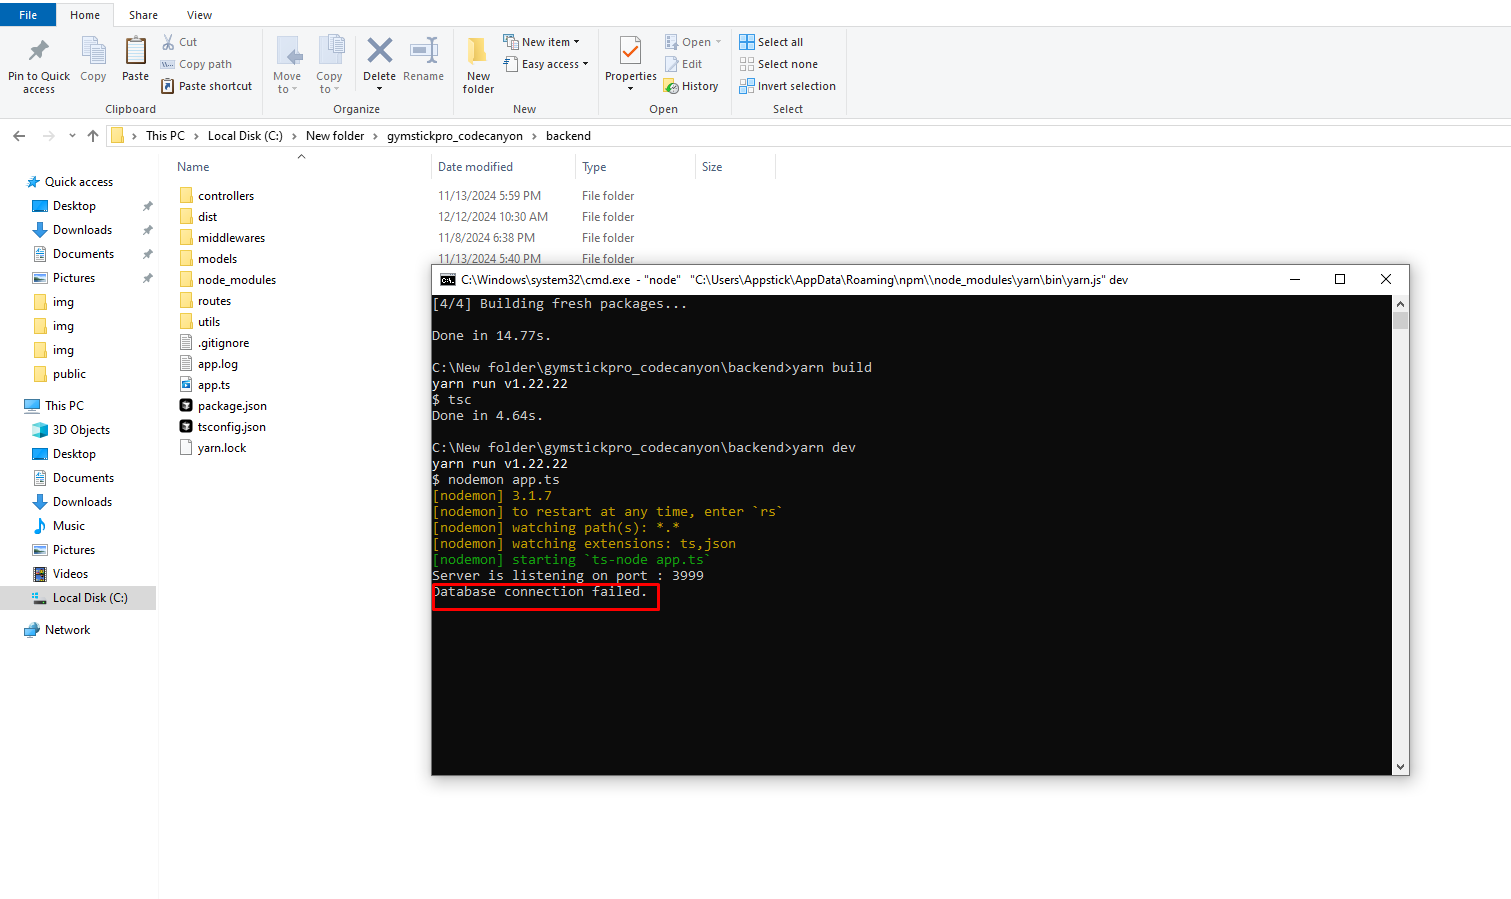
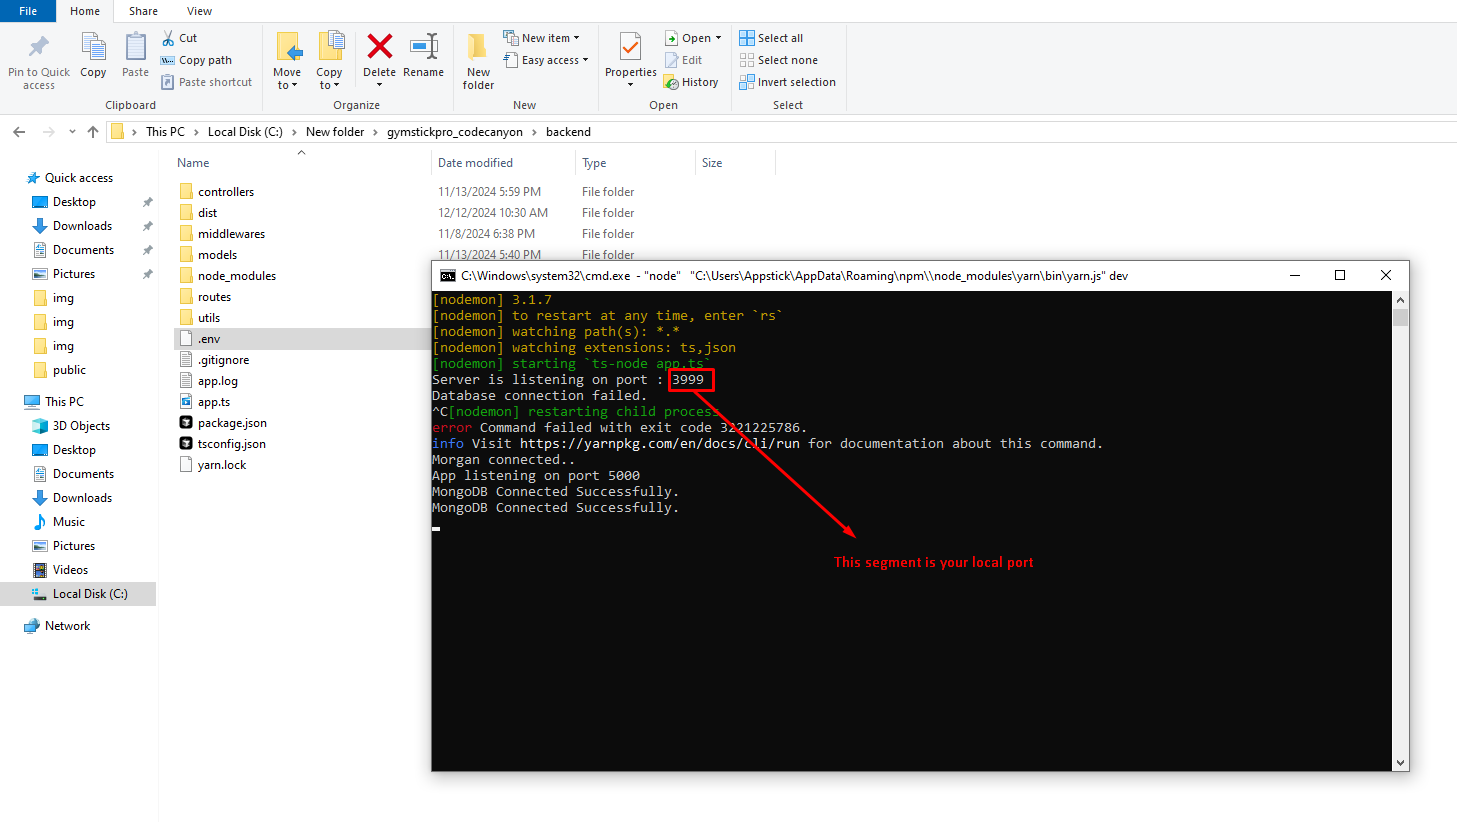
Initially, it will show Database connection failed after you successfully set up your frontend, the .env file will be automatically created, and it will show Database connection successfully.
!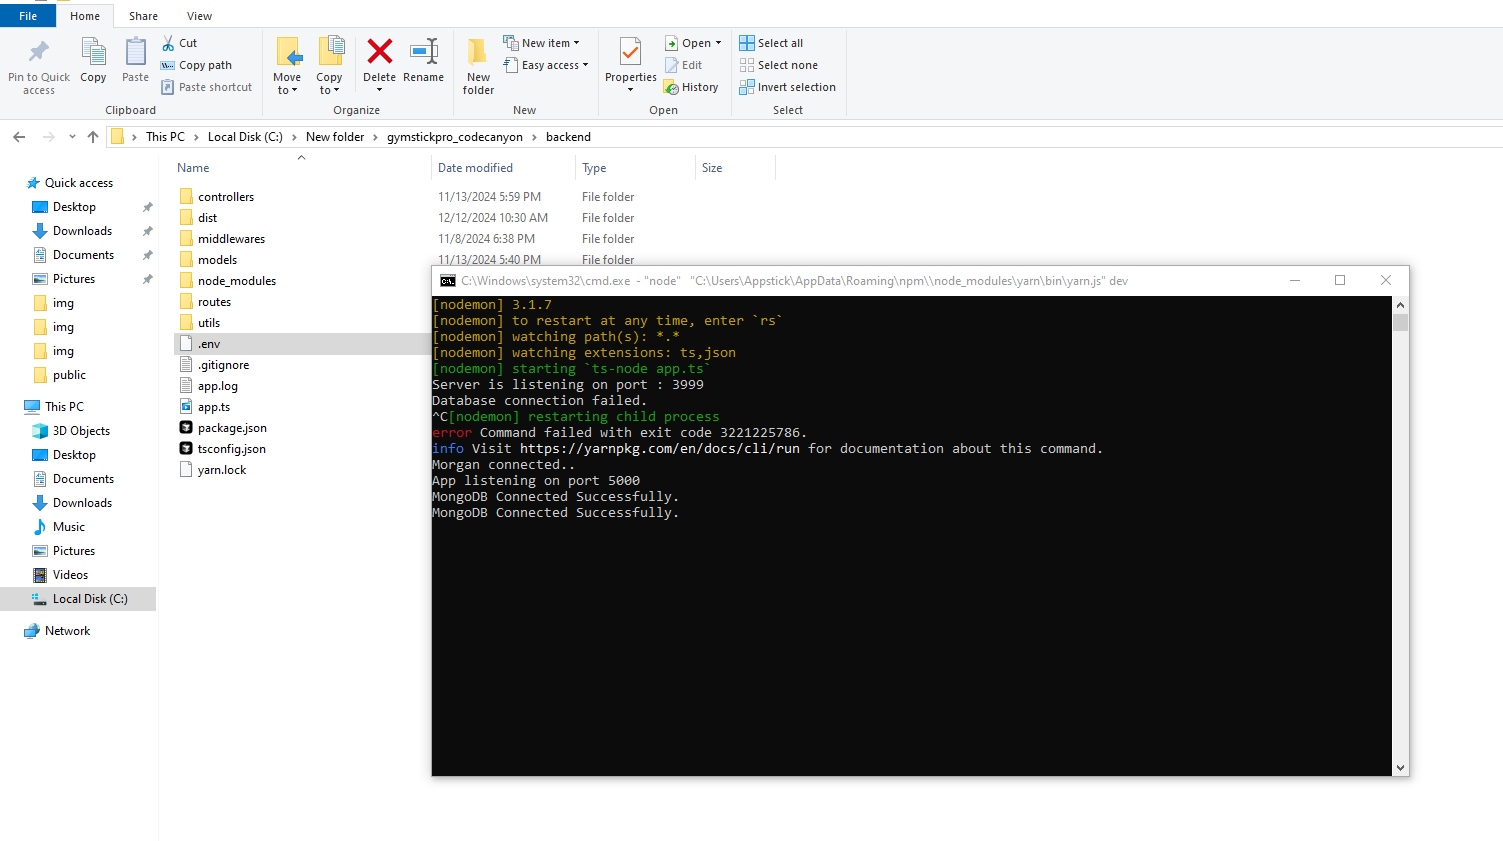
Now your backend is running locally. You can access it via localhost: port .
!
Now you need to setup your frontend. click here to open frontend installation process Frontend Installation Process
Backend Installation Process (Server / AaPanel)
Step 1:
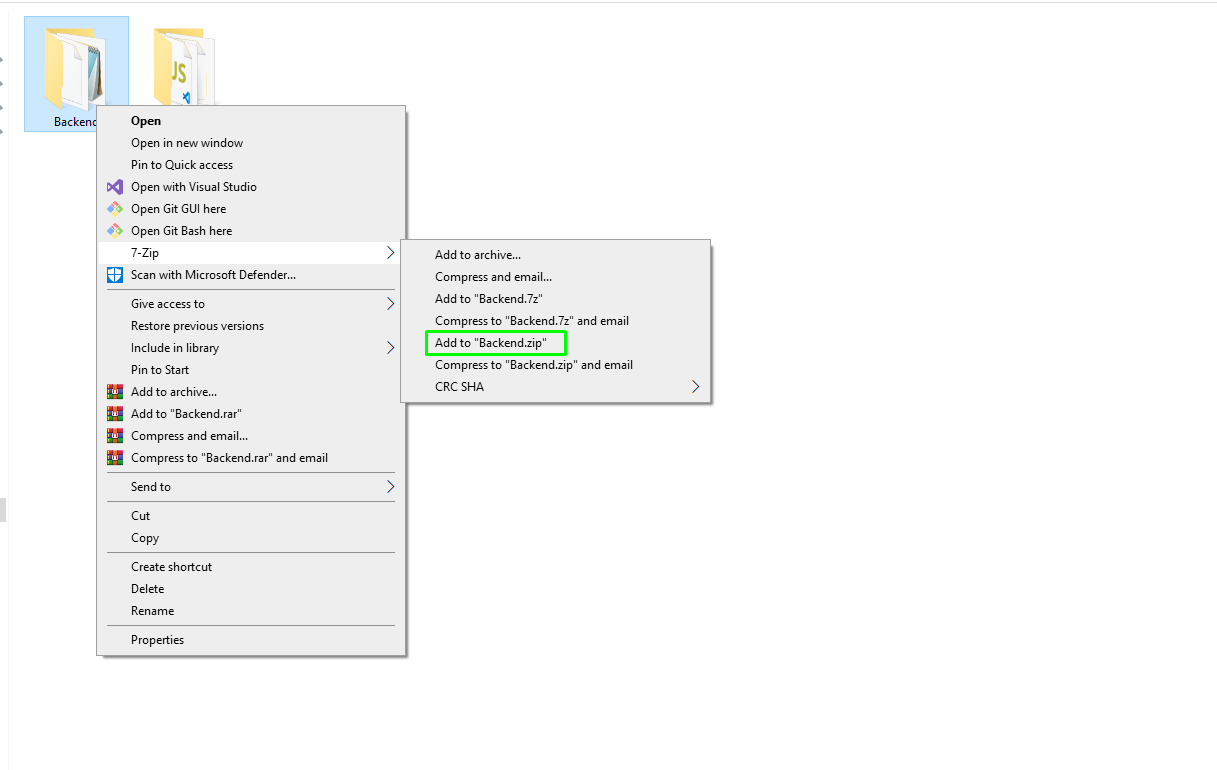
- Open the terminal. First, you need to deploy the backend to your domain or subdomain. We recommend using a subdomain, such as backend.your_main_domain.com. Zip the backend project files and upload them to your server.
Step 2:
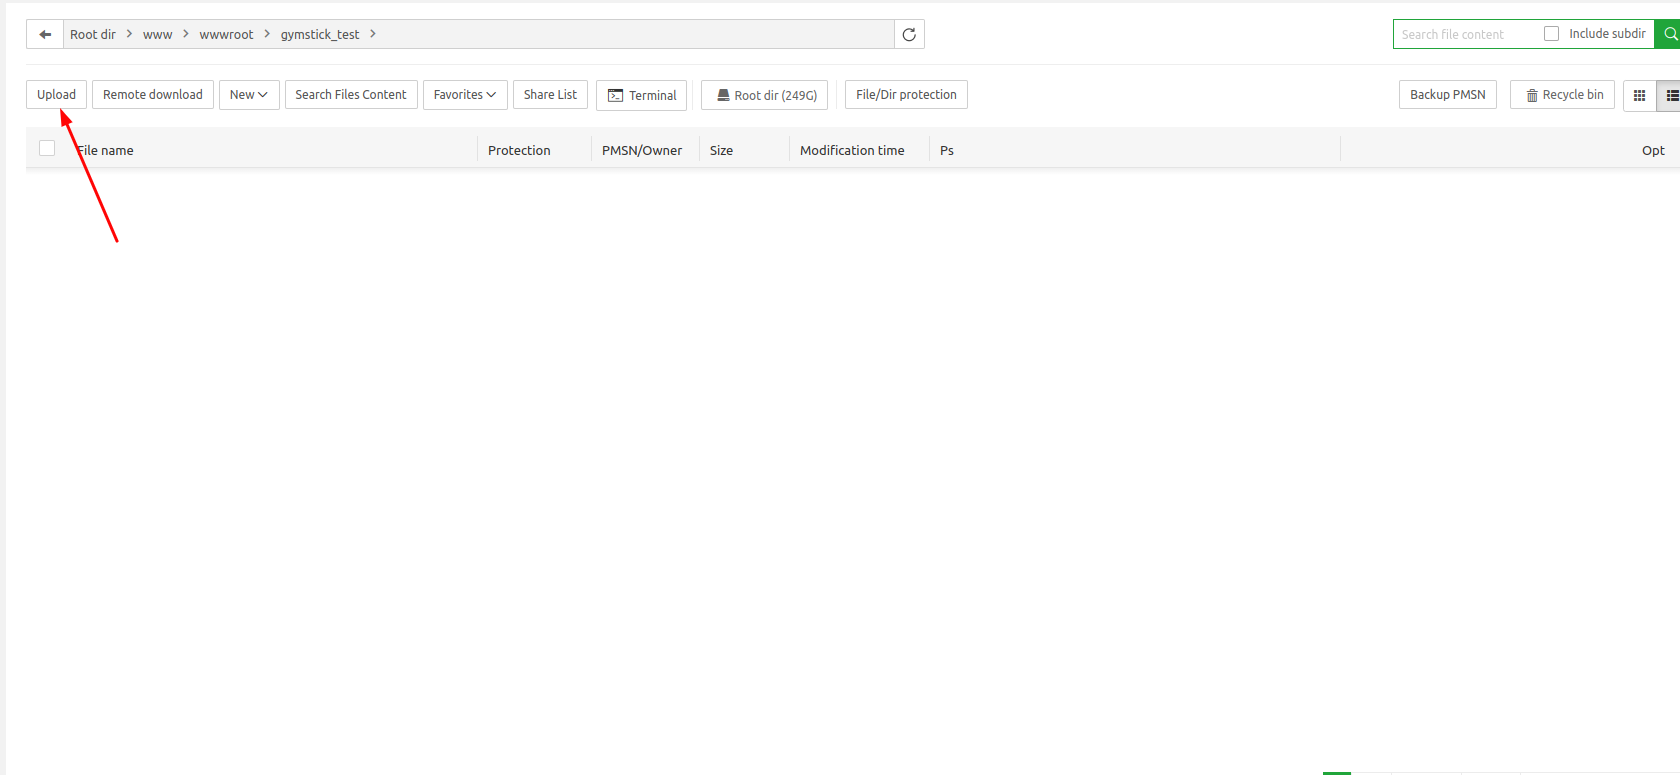
- Go to your servers file manager (AaPanel or similar)
Step 3:
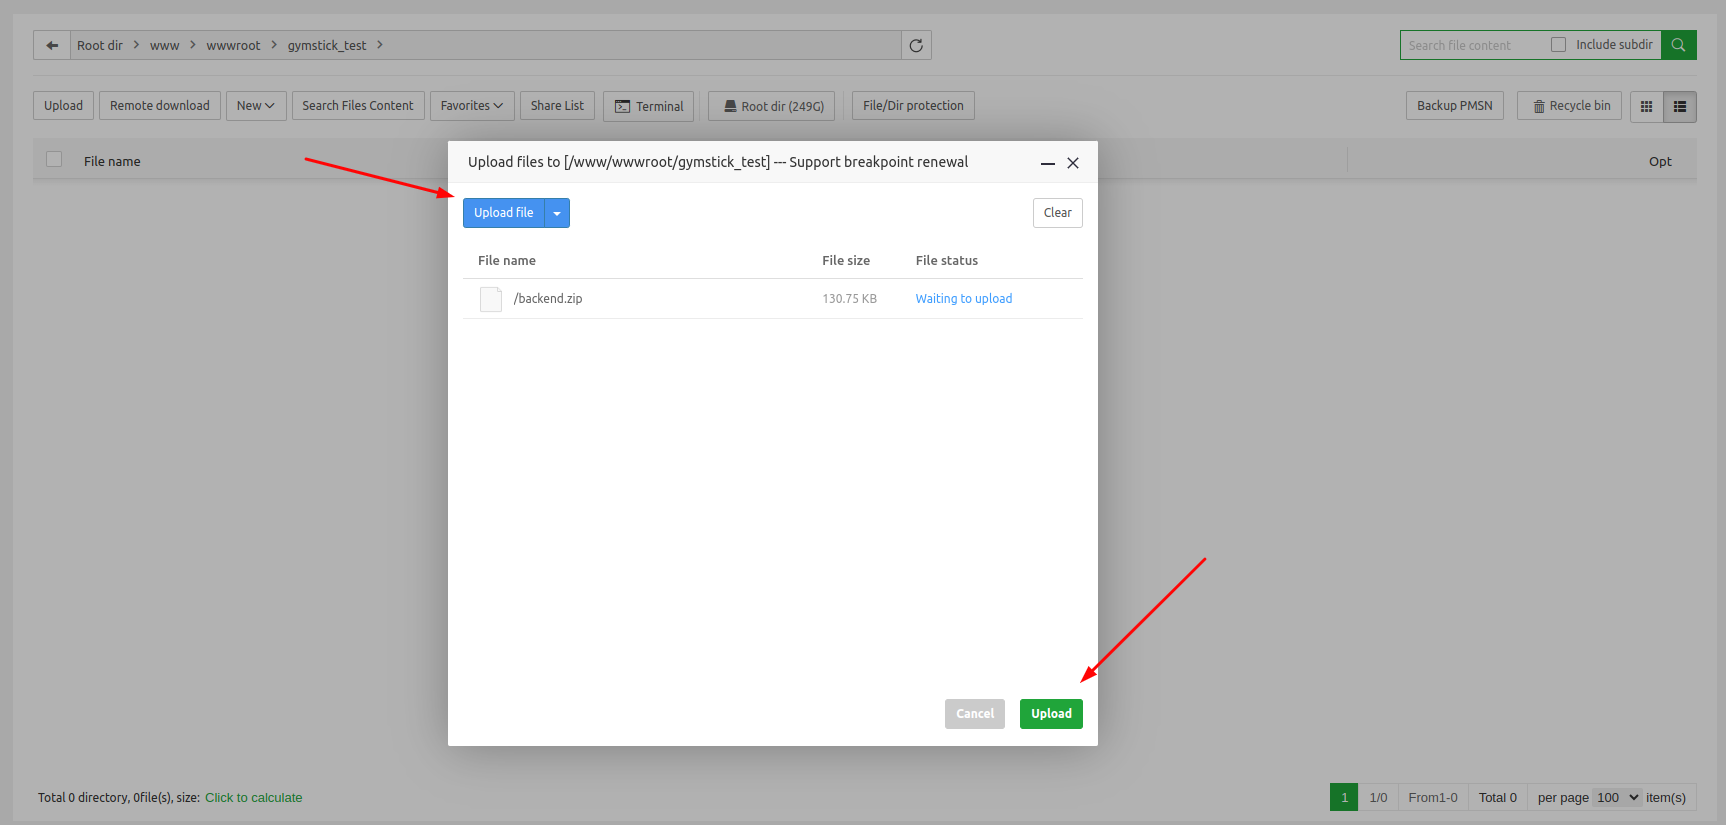
- Now upload the backend.zip file.
Step 4:
- Unzip the uploaded file
Step 5:
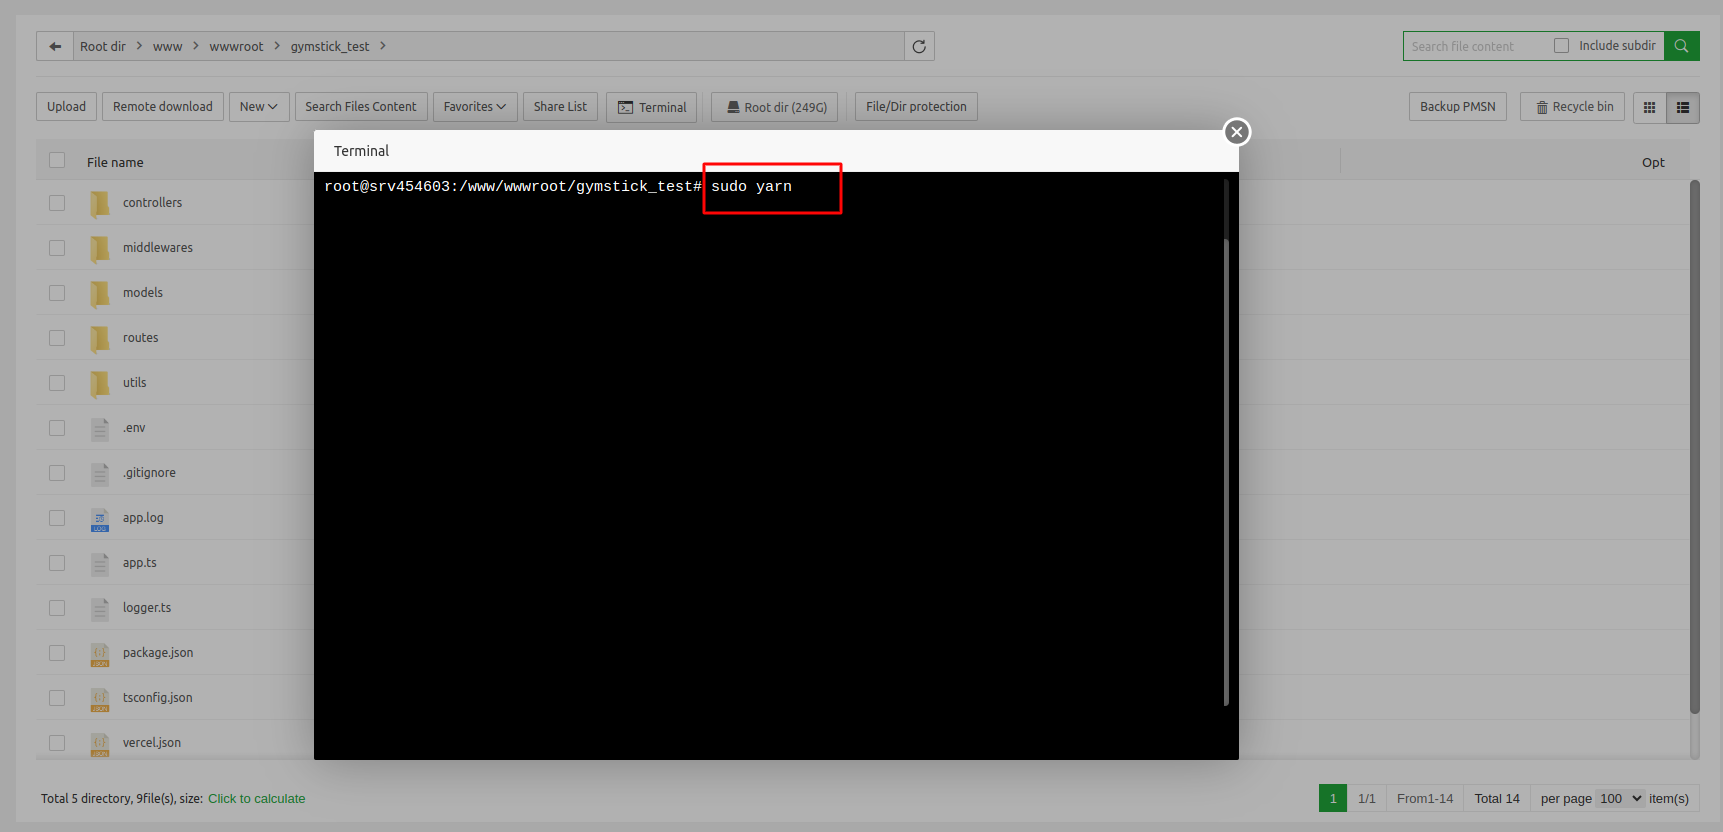
- Open the terminal in your server and run the following command :
sudo yarn
Step 6:
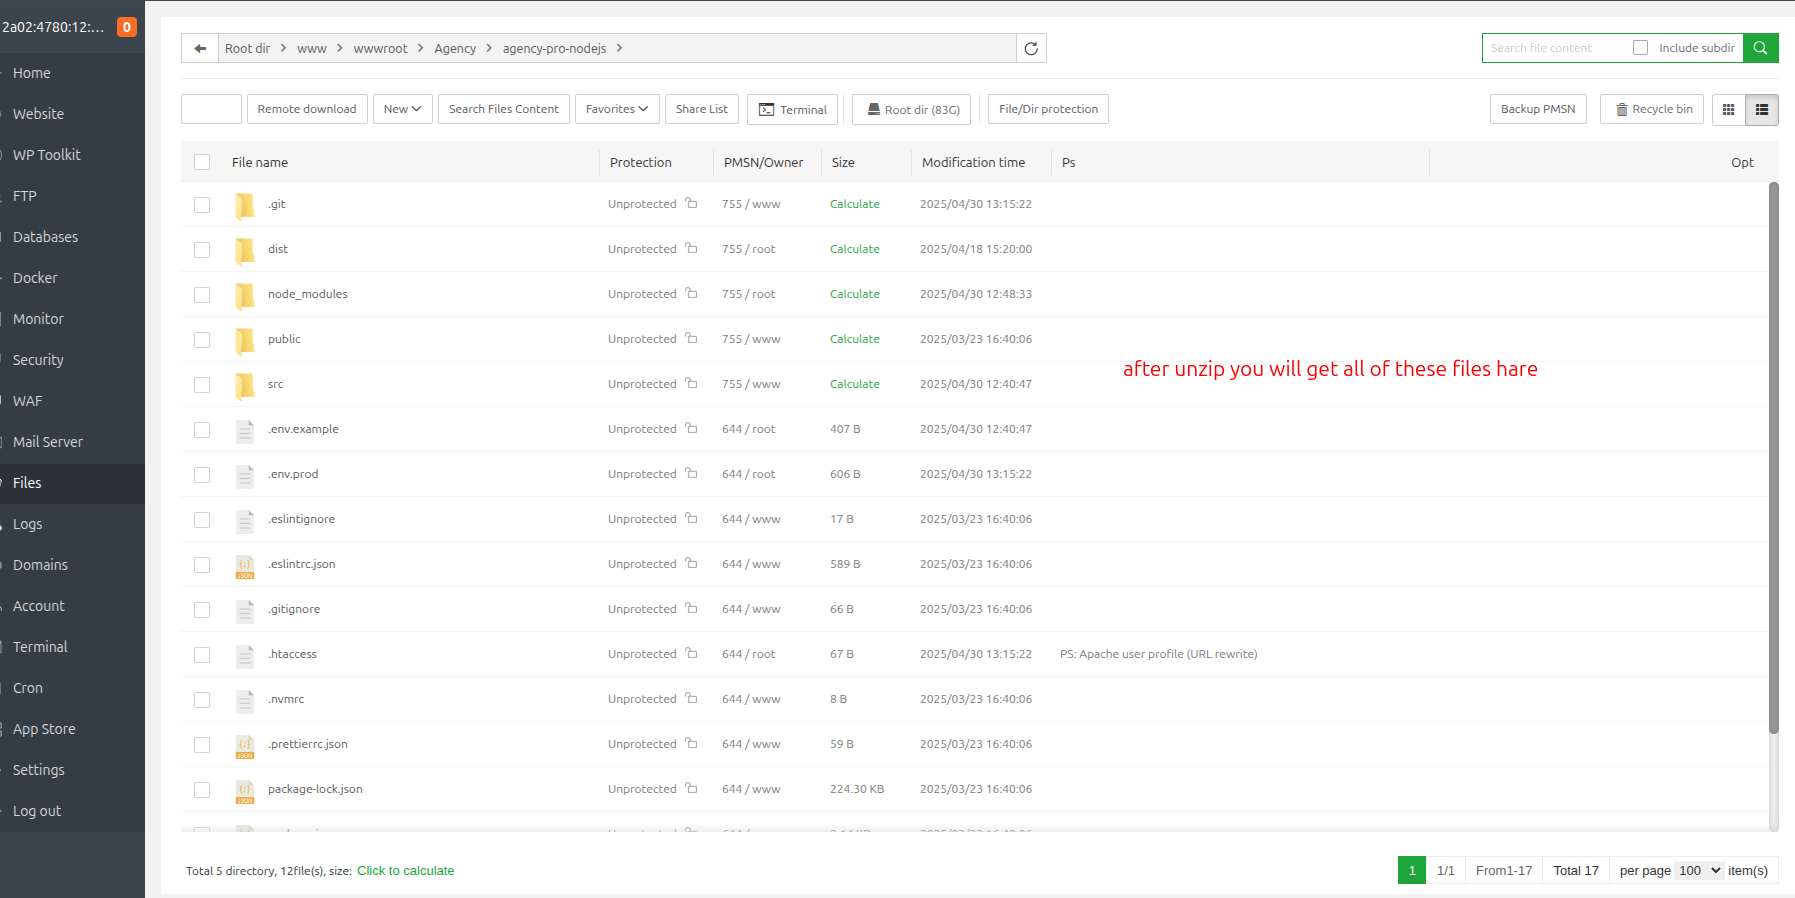
- Once the installation is complete, you should see the node_modules folder.
Step 7:
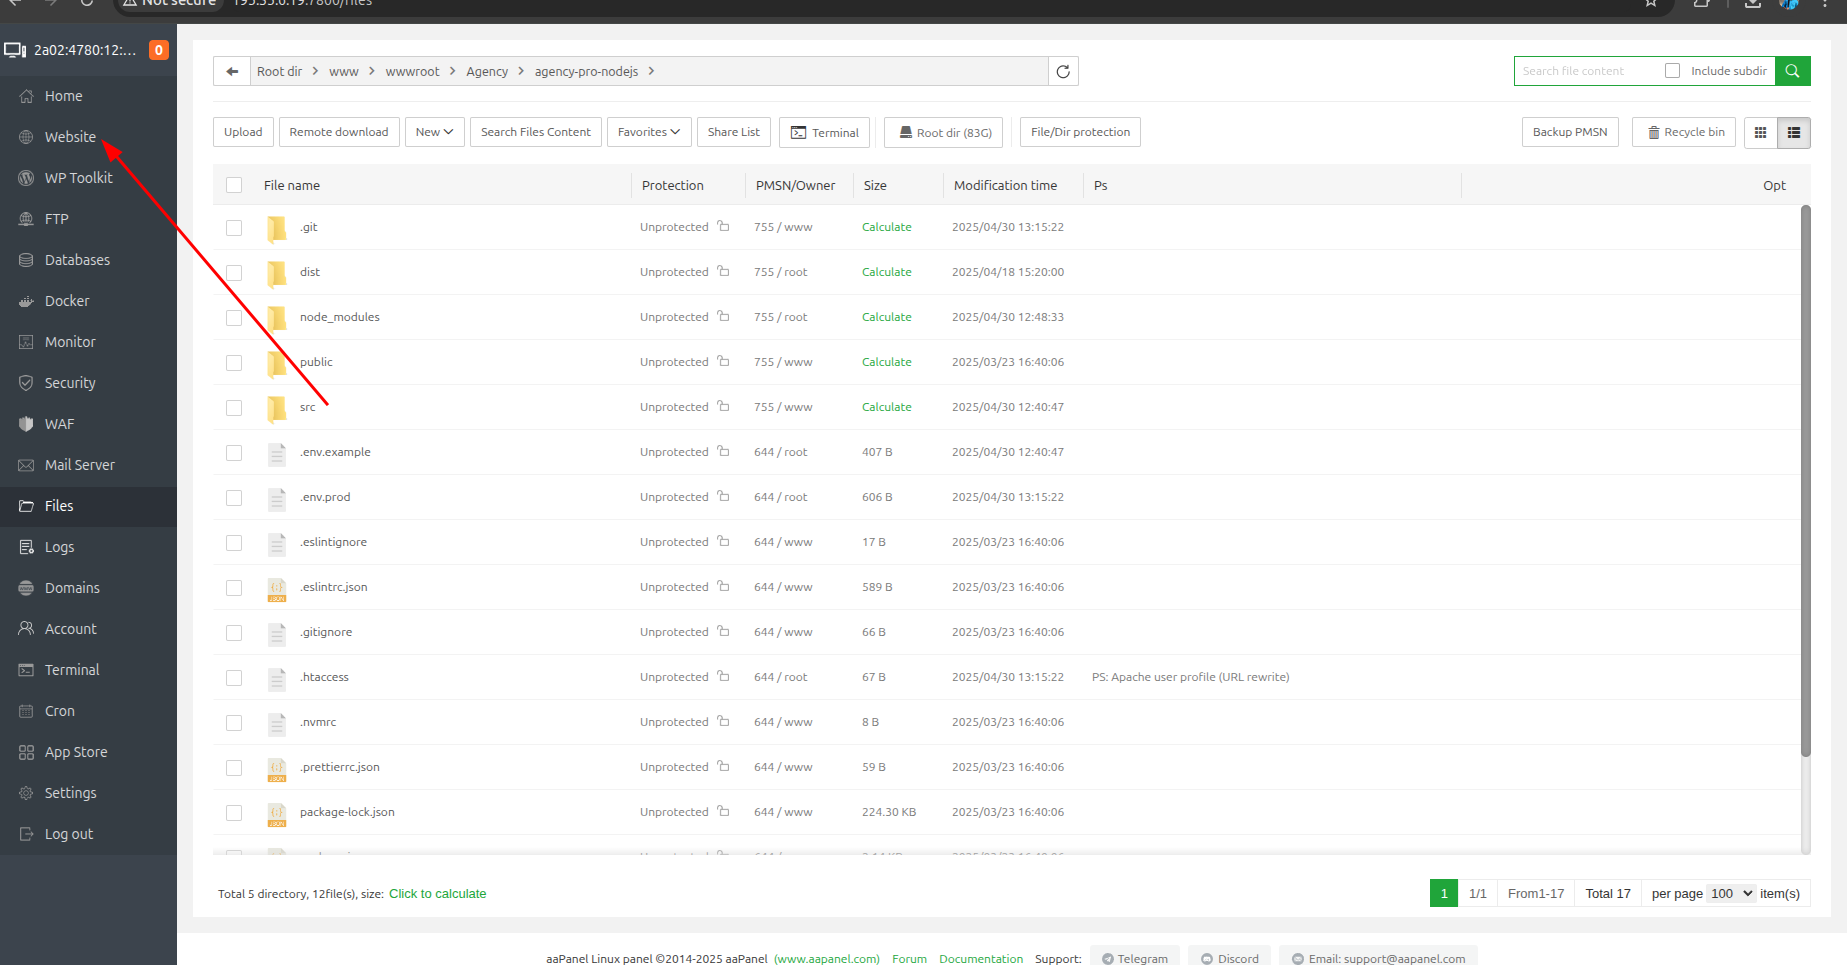
- Next, find and click the Website button in your server panel's sidebar.
Step 8:
- Click the Node Project button and then click the Add Node Project button.

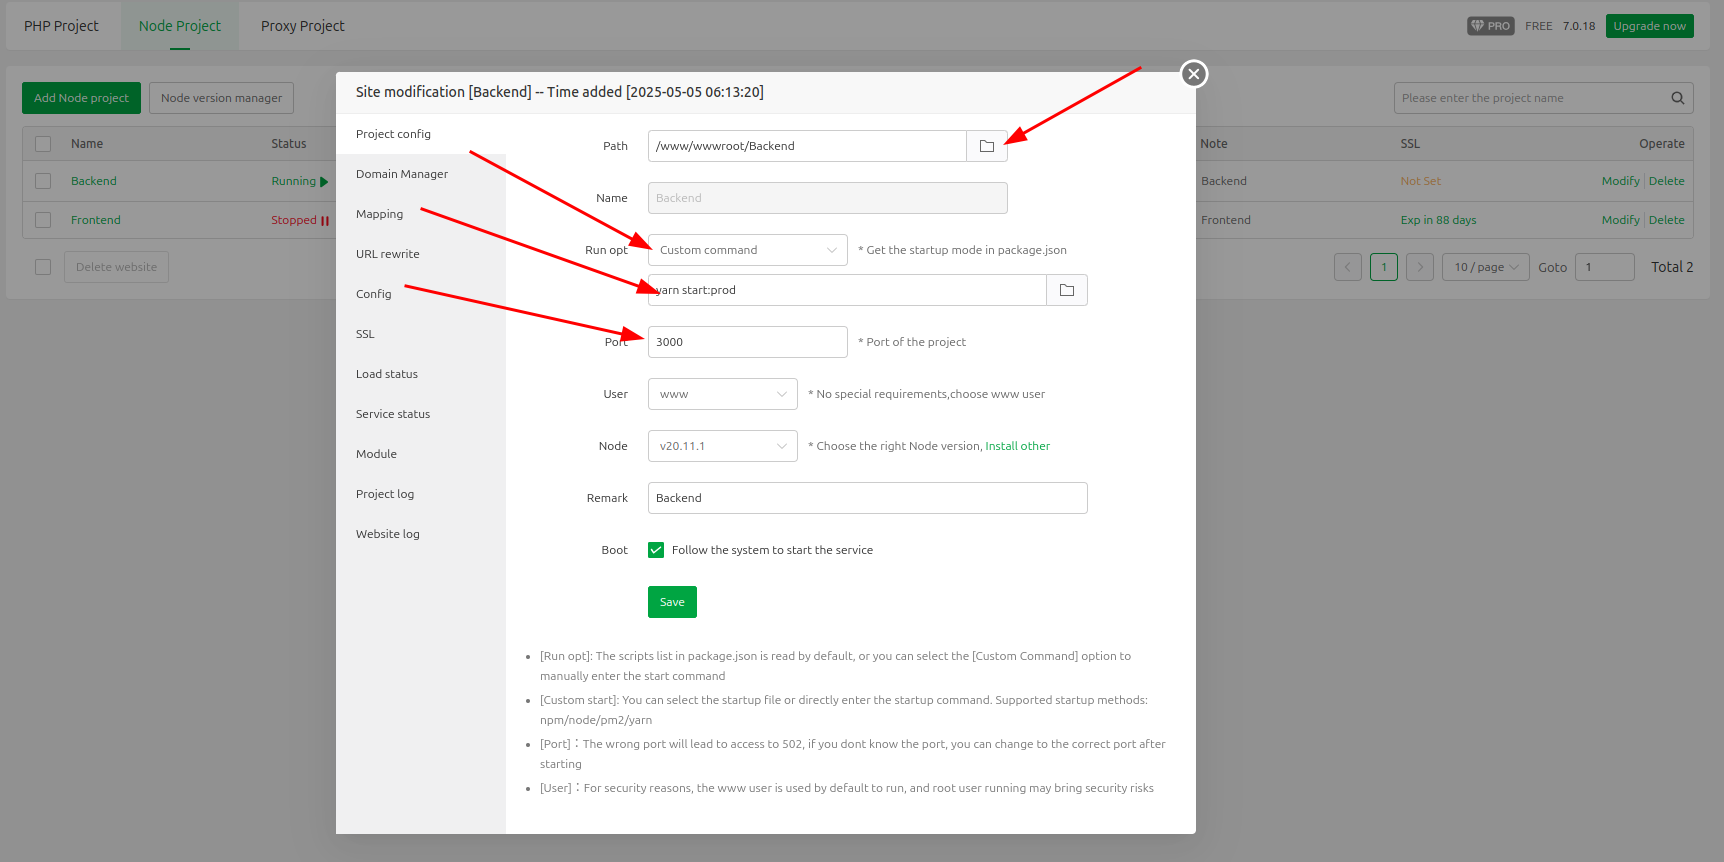
Step 9:
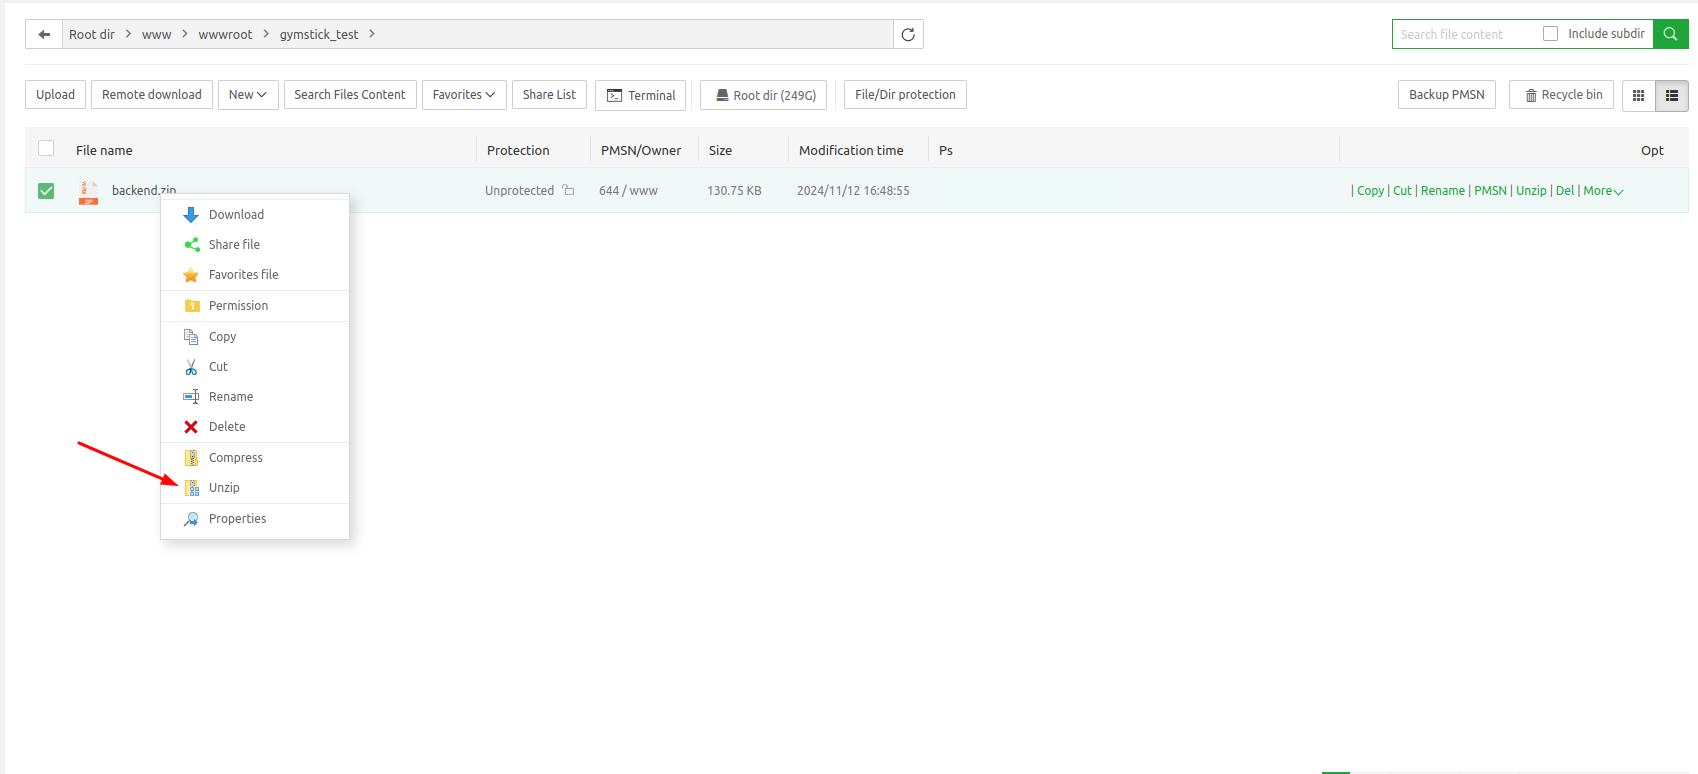
-
Right-click on your file and select the options that appear.
-
Click the indicated button to select your folder path, fill in the name (use underscores, no spaces), select the run options, port, and node version. Enter your domain name and click the confirm button to ensure everything is correct.
Step 10:
- Click on the SSL button, select the two checkboxes, and apply the settings.
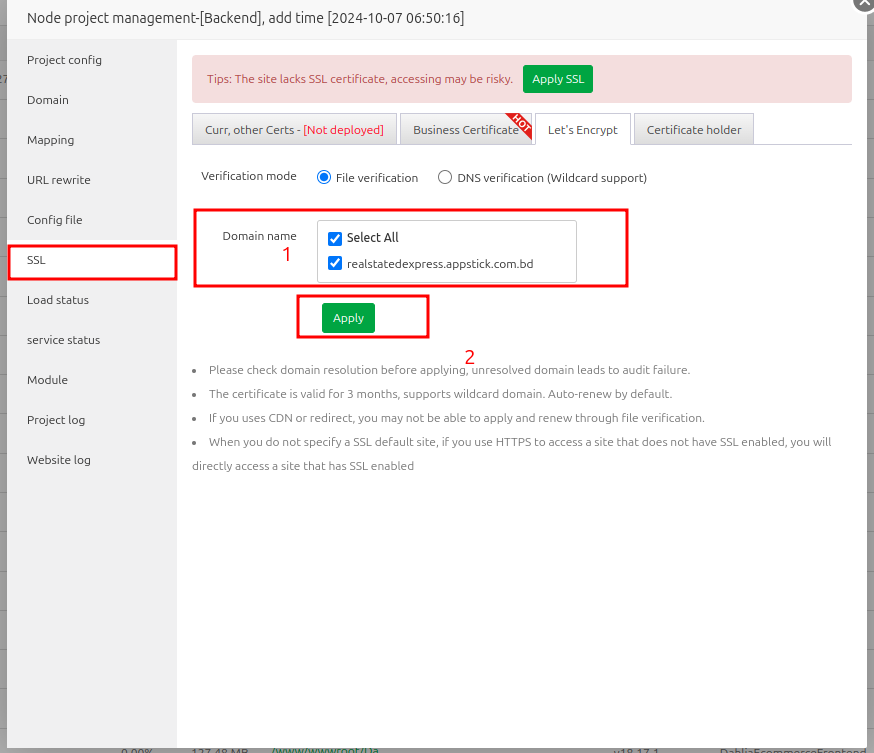
Step 11:
- If SSL isn't applied automatically, click to force SSL from the settings menu.
Your backend is now live and ready to use. Please copy your subdomain URL to integrate with the frontend project, such as backend.your_main_domain.com.